Making your Office Lease Make-Good a Stress-Free Experience
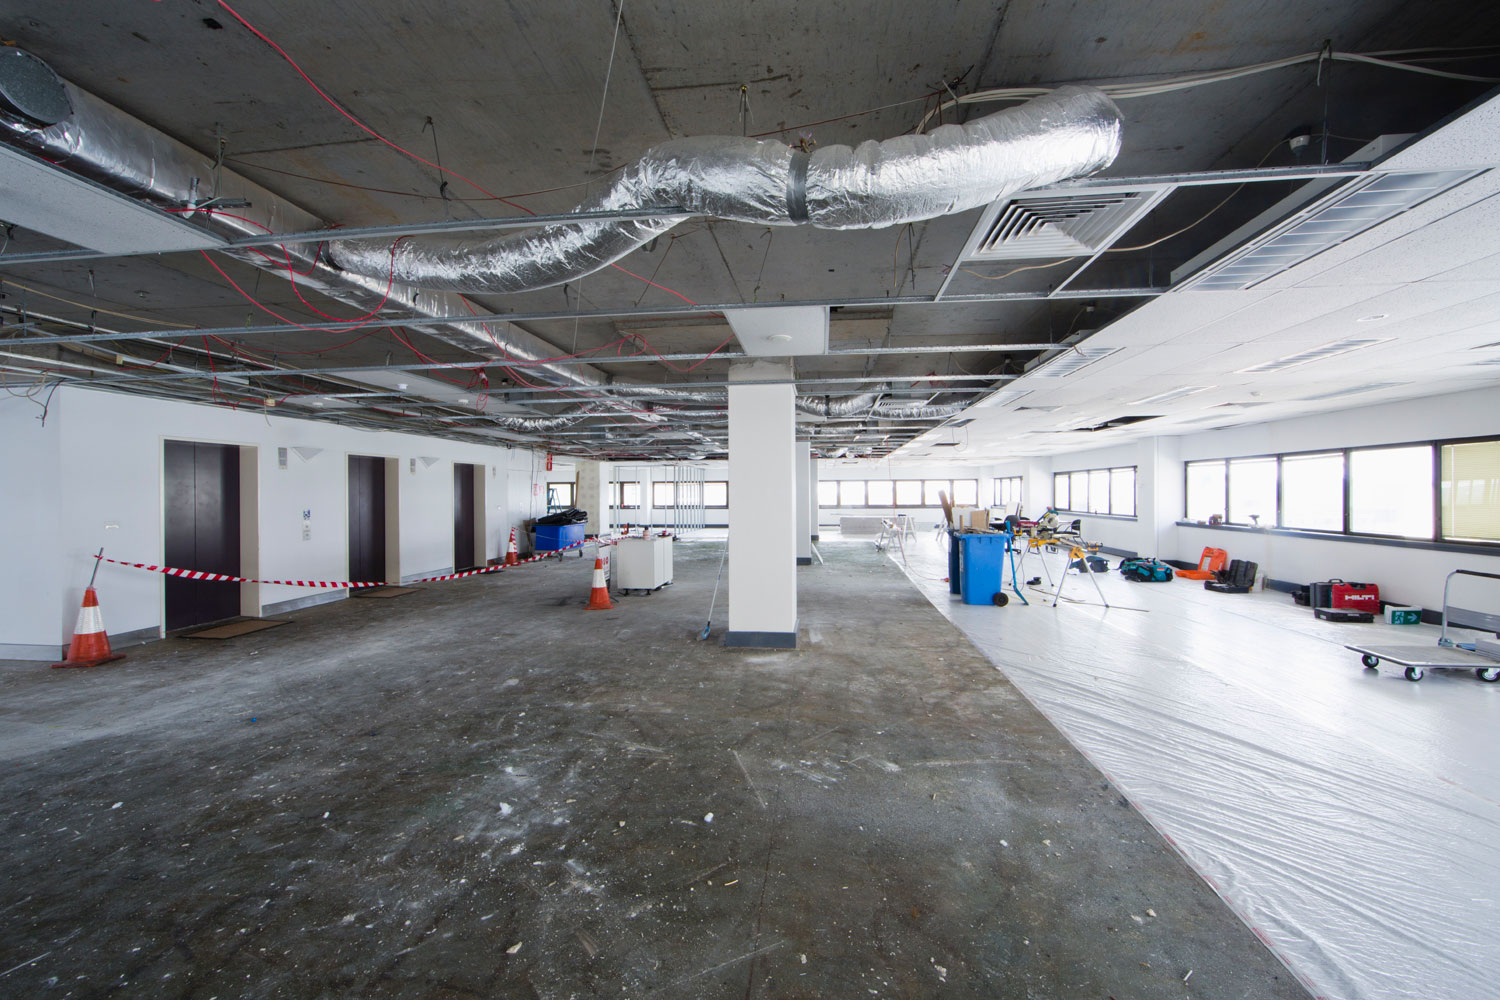
If there is one thing that too many people find almost as stressful as fitting out a new office, it’s the process at the completely opposite end of the spectrum – the make-good at the end of a lease. You can read about how make-good’s work here. Every property is different, every landlord is different, and every fit out is different, but ultimately the make-good comes down to the same thing – a tenant is expected to leave the property in the same state as they found it.
But before you start stripping everything out and resign yourself to an enormous bill at the end of it, or start priming yourself for a fight with your landlord, take a step back.
First things first, know where you’re starting from:
Step 1: What does the lease say?
Every lease agreement will include a make-good clause. Check exactly what’s specified, and what’s not. Are there inclusions? Exceptions? Were there approvals for alterations? Have there been agreed amendments since the lease was first signed? Gather your paperwork.
Step 2: What evidence has been retained of the condition of the premises when you took it up?
Is there a pre-lease schedule of condition? Are pictures of the current condition available?
Step 3: What changes have you made to the property?
Make a list. Start at the front door and do a circuit of the entire property noting absolutely everything that has been added and changed since you first collected the keys. Write it all down, including:
-
- Partition walls
- Wall finishes – painting, wallpapering
- Soft furnishing – drapes, blinds
- Floor coverings – carpets, floating floors, vinyl
- Built-in fittings – reception desk, shelves, cupboards, kitchen appliances
- Lighting, electrical power points
- Cabling – data, phone
- Air conditioning, heating
- Signage
Step 4: The next step is for the landlord and tenant to agree.
The landlord will almost certainly want an inspection done of the premises to determine, from his or her perspective, what level of make-good works are the tenant’s responsibility. They may have a schedule of works drawn up and costed.
Don’t assume that every landlord will want the property restored to exactly how it was when you took it up. They may instead see value in all or part of the alterations made by the tenant, seeing them as making the property more attractive to a new potential tenant. They may not require the property be stripped out, but instead accept a cash payment in lieu of make-good.
There is almost always some careful negotiation involved at this stage of the process. Legal advisors or consultants may be brought in by either side to help work through the negotiations, agree a settlement and/or schedule of works, and manage the process as necessary.
Step 5: Carry out strip out, repair or redecoration work as quickly, efficiently and professionally as possible
Once agreement has been reached, it is in everyone’s interests to ensure that any strip out, repair or redecoration work that needs to be completed is done as quickly, efficiently and professionally as possible.
Often, if you’re moving on to a new premises, it makes sense for make-good work on the property you’re leaving to be done by the same specialists who are fitting out your new office. Aside from the obvious potential cost-savings of repurposing fittings from one property in the other, there are efficiencies too in project managing the two jobs in parallel.
It’s also true that property owners have the right to claim against a departing tenant for poor workmanship in a make-good, so it makes sense that the firm you trust to do the outfitting of your new premises is the one you trust to do right by you and finish the job to the necessary standard in the old one.
Bryan Palmer


